This post is part of a series of posts on Adjusting Exposures. The series begins here.
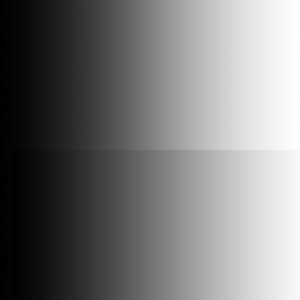
The top halves of the black-to-white gradient images in this post show effects of adjustments. The bottom halves show the original image. If you’d like try out adjustments yourself, you’ll find the black-to-white gradient image here.
Legacy Camera Raw Exposure Adjustment
Older “legacy” versions of Camera Raw have a different set of exposure adjustments than newer versions. Figure 1 shows the effect of setting Exposure to +1 in a legacy version of Camera Raw. Grays become lighter, but pure black on the left side is preserved. Figure 2 shows the effect of setting Exposure of the black-to-white gradient to -1 in a legacy version of Camera Raw. Grays become darker. Pure white on the right side of the image is preserved.
As you can see, Exposure adjustments in legacy versions of Camera Raw affect mid-tones but leave blacks and whites unchanged.
Legacy Camera Raw Recovery, Fill Light, and Blacks Adjustments
An example Recovery adjustment made with a legacy version of Camera Raw is shown in Figure 3. It darkens light grays without modifying darker grays. The legacy Fill Light adjustment shown in Figure 4 does just the opposite. It lightens dark grays without modifying lighter ones. Recovery can help enhance detail in highlights. Fill Light can help enhance detail in shadows.The Blacks adjustments in legacy version of Camera Raw darkens grays. An example is shown in Figure 5.
Note that values used in these demonstrations were selected to emphasize effects. Appropriate adjustments for typical photographs are generally smaller. Often a combination of adjustments is necessary for best results.
Legacy Camera Raw Brightness and Contrast Adjustments
Figures 8 and 9 show the effects of the legacy Camera Raw Brightness adjustment. In both cases mid-tones are most affected, and darker and lighter tones are least affected.
Legacy Camera Raw Contrast adjustments shown in Figures 10 and 11 most affect darker and lighter tones and leave mid-tones less affected. Increasing contrast makes darker tones darker and lighter tones lighter. Decreasing contrast makes darker tones lighter and lighter tones darker. In both cases blacks and whites are preserved.
Clipping Indicators
Clipping occurs when adjustments reduce the range of tones so much that detail is lost in the image. In light areas whites may be “blown out.” In dark areas by blacks may be “crunched.”
Both legacy and newer versions of Camera Raw have useful features for identifying clipping. Clicking the triangle at the upper left of the histogram display switches back and forth between displaying clipped dark colors as either their inherent color or bright blue. Clicking the triangle at the upper right of the histogram display switches back and forth between displaying clipped light colors as either their inherent color or as bright red.
Before opening a photograph in Photoshop, I try to make basic Camera Raw adjustments so there is no indication of clipping in any important areas of the image.
Camera Raw 8 has a different set of basic adjustments. I’ll describe them in my next post.


