This post is part of a series of posts on Adjusting Exposures. The series begins here.
Frankly, I prefer the basic exposure adjustments in Camera Raw 8 to those in Photoshop. This post is included in the series for completeness. I only use basic exposure adjustments in Photoshop when they are combined with a mask that limits their effects to selected regions on my photograph.
Except as noted, the top halves of the black-to-white gradient images in this post show effects of adjustments. The bottom halves show the original image. If you’d like try out adjustments yourself, you’ll find the black-to-white gradient image here.
The Exposure Adjustment in Photoshop
Figure 1 shows the effect of setting Exposure to +1 with a Photoshop adjustment layer. The effect on lighter grays is similar to setting Exposure to +1 in Camera Raw. The pure black on the left side of the image is maintained even if the exposure is increased the maximum amount.

Figure 1. Black-to-white gradient image with Exposure set to +1 with a Photoshop Exposure adjustment layer.
Figure 2 shows the effect of setting Exposure to -1 in Photoshop.
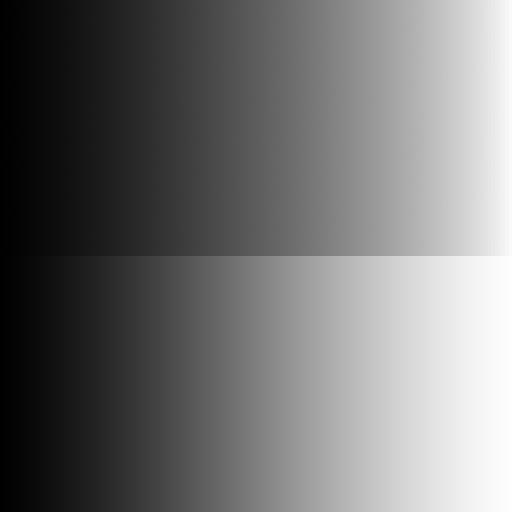
Figure 2. Black-to-white gradient image with Exposure set to -1 with a Photoshop Exposure adjustment layer.
Exposure adjustments in Photoshop and Camera Raw 8 are qualitatively similar. For example, whites are turned to gray as exposure is decreased. However, they aren’t identical. Figures 3 and 4 compare the effects of increasing and decreasing Exposure in the two programs.
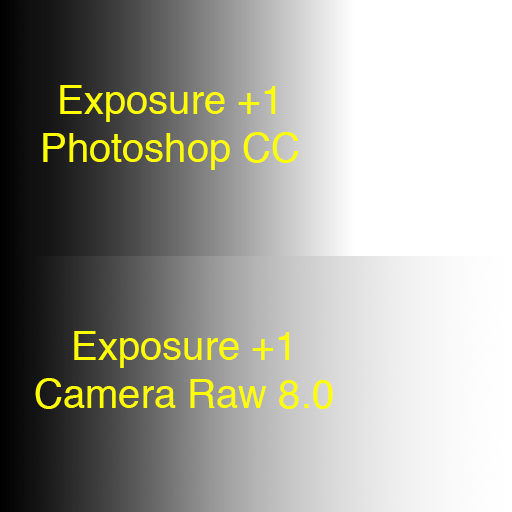
Figure 3. Comparison of exposure adjustments in Photoshop CC with Camera Raw 8. Both Exposures are set to +1.
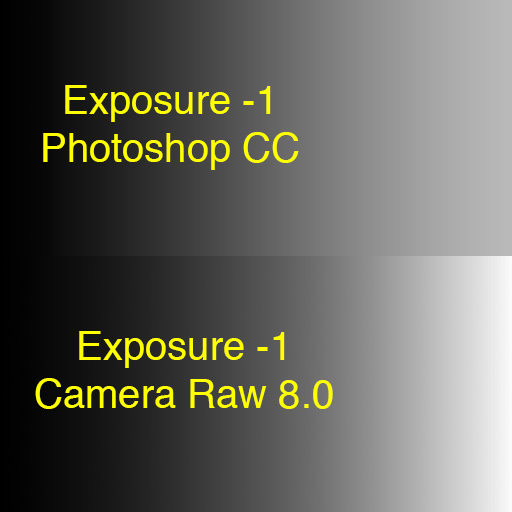
Figure 4. Comparison of exposure adjustments in Photoshop CC with Camera Raw 8. Both Exposures are set to -1.
I frequently use a masked Photoshop Exposure layer to decrease the brightness of areas of my photos that are likely to distract the viewer from the main subject.
In addition to the Exposure slider, the Photoshop Exposure adjustment has an Offset slider, a Gamma Correction slider, and eyedropper samplers for black, gray and white. Because similar effects can be obtained more intuitively with other adjustments, I rarely use these controls in Photoshop exposure adjustments. I will not discuss them here.
The Brightness and Contrast Adjustments in Photoshop
When computer software doesn’t work exactly as expected users refer to the unexpected effect as a “bug.” Software developers may refer to the same effect as a “feature.” For several releases of Photoshop the Brightness and Contrast adjustment was such a bug/feature. Recall that the Brightness and Contrast in Camera Raw modifies mid-tones but leaves blacks and whites unchanged. As you can see in Figures 5 through 8, the Brightness and Contrast adjustments in Photoshop now affect only mid-tones.
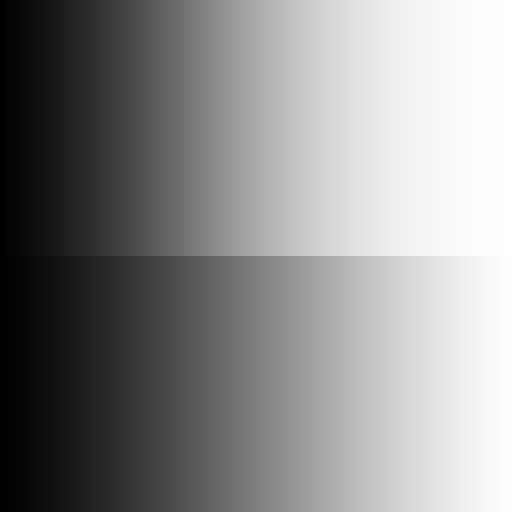
Figure 5. Black-to-white gradient with Brightness set to +50 in Photoshop.
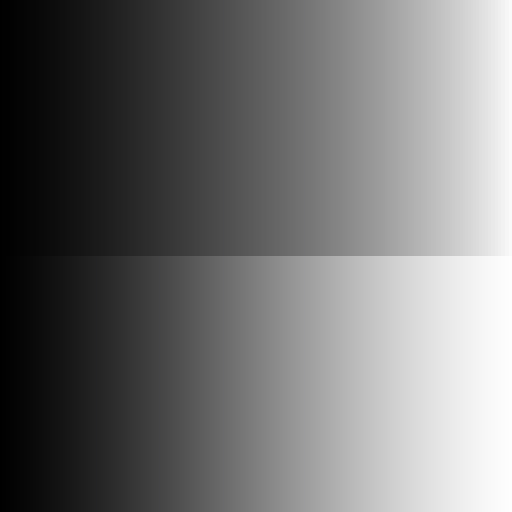
Figure 6. Black-to-white gradient with Brightness set to -50 in Photoshop.
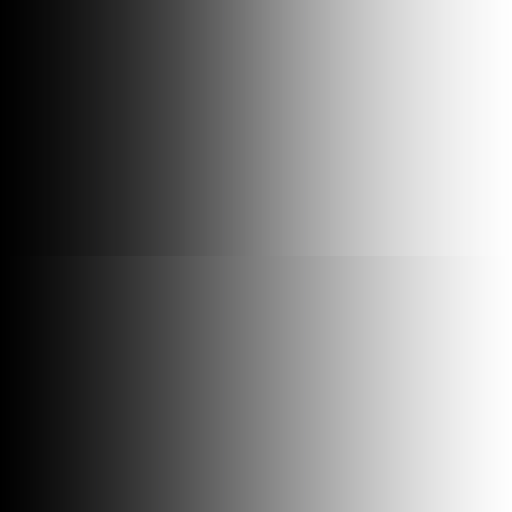
Figure 7. Black-to-white gradient with Contrast set to +25 in Photoshop.
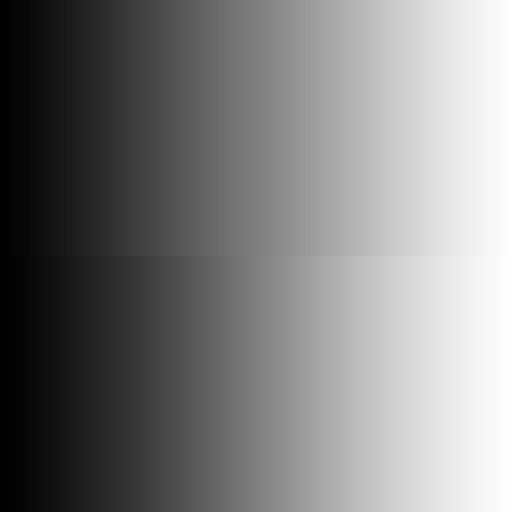
Figure 8. Black-to-white gradient with Contrast set to -25 in Photoshop.
In earlier versions of the Photoshop Brightness and Contrast adjustments affected blacks and whites as well as mid-tones. Depending on one’s point of view, this was either a bug or a feature. Adobe has fixed the “bug,” but left the “feature” by allowing users select a Use Legacy option on the Brightness and Contrast adjustment menu. Figures 9 through 12 demonstrate the effects of legacy brightness and contrast adjustments.

Figure 9. Black-to-white gradient with Legacy Brightness set to +50 in Photoshop.

Figure 10. Black-to-white gradient with Legacy Brightness set to -50 in Photoshop.

Figure 11. Black-to-white gradient with Legacy Contrast set to +25 in Photoshop.

Figure 12. Black-to-white gradient with Legacy Contrast set to -25 in Photoshop.
Although the legacy Brightness and Contrast adjustment doesn’t do what users may expect, it could be used in conjunction with masks to de-emphasize distracting areas of an image by making them darker or less contrasty.
In my next post I’ll talk about Levels adjustments — one of several more “advanced” tools that Photoshop offers for manipulating exposures.